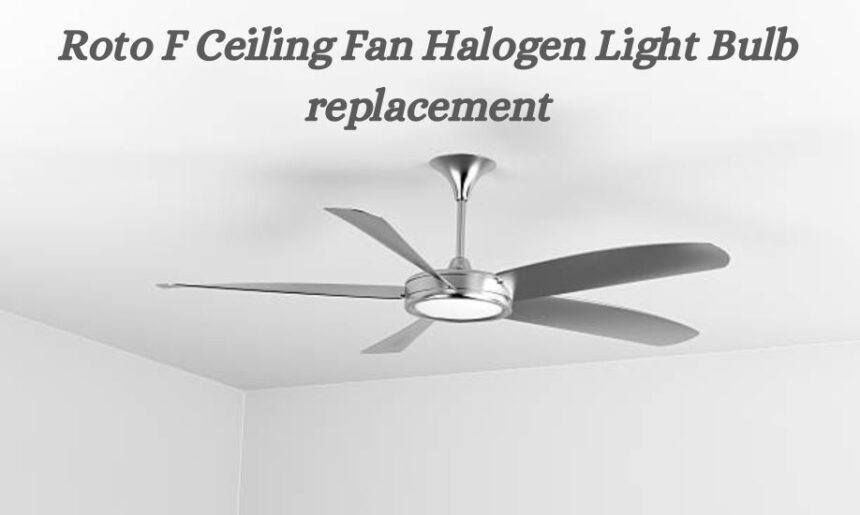
roto f ceiling fan light bulb replacement Replacing a halogen light bulb in your Roto F ceiling fan might seem daunting at first, but with the right steps and tools, it can be a straightforward and safe process. This article will walk you through every aspect of the task, ensuring that your Roto F ceiling fan halogen light bulb replacement is seamless and efficient.
What is a Roto F Ceiling Fan Halogen Light Bulb Replacement?
The Roto F ceiling fan is a modern, stylish ceiling fan that often includes halogen light fixtures. Over time, these bulbs may burn out and need replacing. A halogen light bulb replacement involves carefully removing the old bulb, installing a new one, and ensuring the light fixture works correctly. Following the right procedures is essential to avoid damage to the fan or the bulb and to maintain the fan’s aesthetic and functional qualities.
Tools Needed for Roto F Ceiling Fan Halogen Light Bulb Replacement
Before starting, gather the tools and materials you’ll need to make the process smooth and safe:
- Replacement Halogen Bulb: Make sure you purchase a bulb compatible with your Roto F ceiling fan’s specifications. Check the wattage and base type in the fan’s manual or on the existing bulb.
- Screwdriver: Depending on your ceiling fan model, a flathead or Phillips-head screwdriver may be necessary.
- Gloves or a Clean Cloth: Halogen bulbs are sensitive to oils from your skin, which can affect their lifespan. Always handle them with gloves or a cloth.
- Step Ladder: Use a stable step ladder to safely access the fan and its light fixture.
Safety Precautions Before Starting
Safety should always come first when replacing a halogen light bulb in your ceiling fan. Follow these essential safety steps:
- Turn Off Power: Switch off the power to the ceiling fan and light at the circuit breaker to eliminate the risk of electric shock.
- Allow Cooling Time: If the bulb was recently in use, wait for it to cool down completely before handling it to avoid burns.
Step-by-Step Guide to Roto F Ceiling Fan Halogen Light Bulb Replacement
Step 1: Access the Light Fixture
Start by accessing the light fixture where the halogen bulb is located:
- Use the step ladder to reach the ceiling fan safely.
- Examine the light cover to determine how it is secured. It may be attached using screws, clips, or a twist mechanism.
- If screws are involved, carefully unscrew them while holding the cover to prevent it from falling.
- For twist-on covers, press gently upward and turn counterclockwise to remove them.
Step 2: Remove the Old Bulb
Once the cover is off, you can remove the old halogen bulb:
- Grasp the bulb firmly and pull it straight out if it’s a pin-based bulb. For screw-in bulbs, turn them counterclockwise to unscrew.
- Dispose of the old bulb properly, as halogen bulbs can be fragile and should not be thrown in regular trash.
Step 3: Install the New Halogen Bulb
To install the new halogen bulb:
- Use gloves or a clean cloth to handle the new bulb, avoiding direct contact with your skin.
- Align the bulb with the socket and insert it gently. For screw-in bulbs, turn them clockwise until they are secure but not overly tight.
Step 4: Reattach the Light Cover
After installing the new bulb:
- Reposition the light cover over the bulb.
- Secure it by tightening screws, snapping clips back into place, or twisting it into position as required.
Step 5: Restore Power and Test
Finally, restore the power to the ceiling fan:
- Turn the circuit breaker back on.
- Use the wall switch to turn on the light and ensure the new bulb is functioning properly.
Common Issues and Troubleshooting
If the light does not turn on after replacement, consider these troubleshooting tips:
- Check the Bulb: Ensure the bulb is properly seated in the socket.
- Verify Compatibility: Confirm that the bulb matches the specifications for your Roto F ceiling fan.
- Inspect the Socket: Look for any visible damage or dirt in the socket and clean or repair as necessary.
- Test Power Supply: Make sure the circuit breaker and wall switch are functioning correctly.
Maintaining Your Roto F Ceiling Fan’s Light Fixture
To prolong the life of your halogen bulbs and ensure optimal performance of your Roto F ceiling fan:
- Regularly clean the light cover and fan blades to remove dust and debris.
- Avoid touching the halogen bulb with bare hands, even during regular maintenance.
- Periodically inspect the fixture for loose connections or other issues.
Benefits of Proper Roto F Ceiling Fan Halogen Light Bulb Replacement
Replacing a halogen bulb properly offers several benefits:
- Ensures consistent lighting and functionality.
- Maintains the aesthetic appeal of your Roto F ceiling fan.
- Prolongs the lifespan of the light fixture and bulb.
Conclusion
Replacing the halogen light bulb in a Roto F ceiling fan is a manageable task when approached with the right tools, steps, and safety measures. Following this guide ensures a successful replacement and keeps your ceiling fan functioning optimally. Whether you’re a homeowner or a renter, this straightforward process helps maintain the elegance and utility of your Roto F ceiling fan.